
Homemade PCBs with a Brother Printer - 4mil Traces
So I’ve done a bunch of tests with different paper, and the best paper I found for the job was this yellow stuff off of ebay here. I think this is the key part to getting such good results.
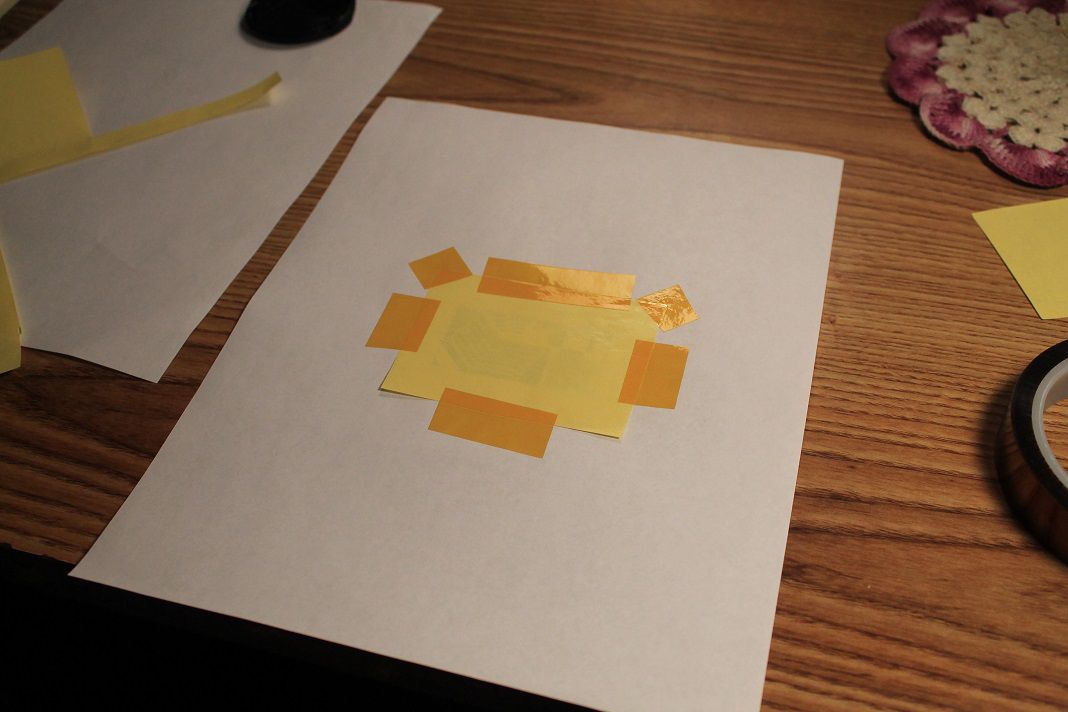
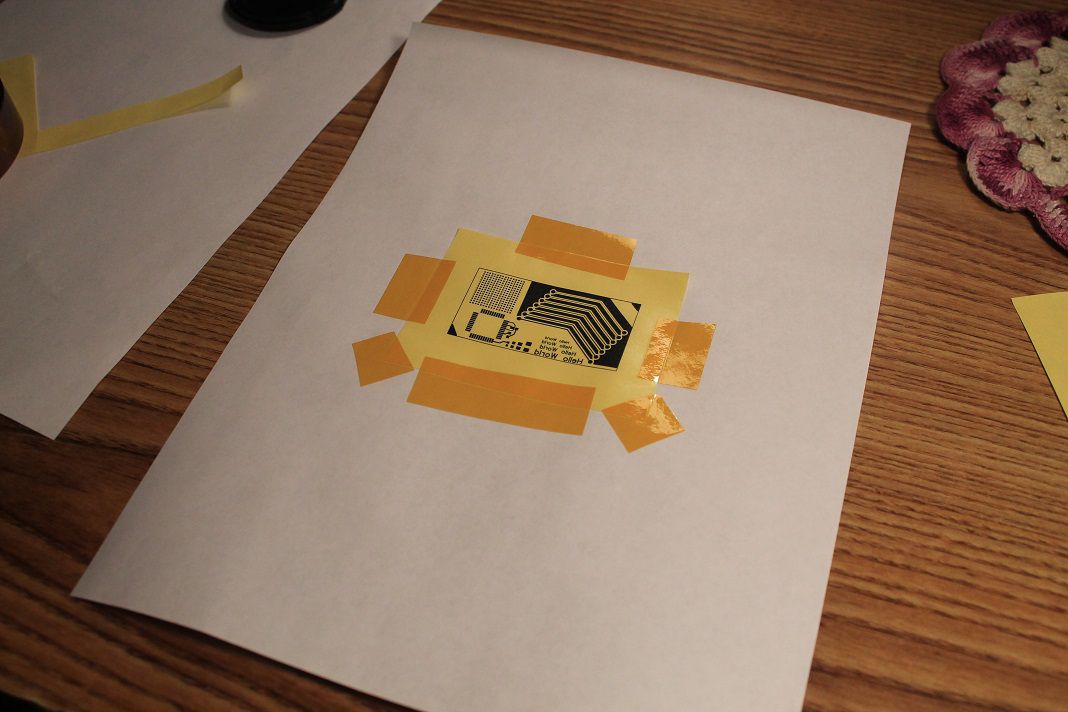
It took a couple of tries to get the toner to stick to it, but in the end I got it working by taping a piece of it to some plan paper with kapton tape.
I use a pretty standard way of transferring the toner to the PCB. I just tape down the toner transfer paper to the PCB, put a paper towel over it, and iron it on (two minutes seems to work good). After the two minutes, I spray the towel and PCB with water and iron it out – I repeat that for about one minute.
After that I let the PCB cool, and wash off the toner paper in cool water.
For etching I use strait ferric chloride in a squarish plastic container. It usually takes about 20 minutes to etch if I agitate the container, or less if I rub the ferric chloride on the board:

I then rinse off the board in cold water again, and remove the toner with lacquer thinner or acetone. And that’s all!
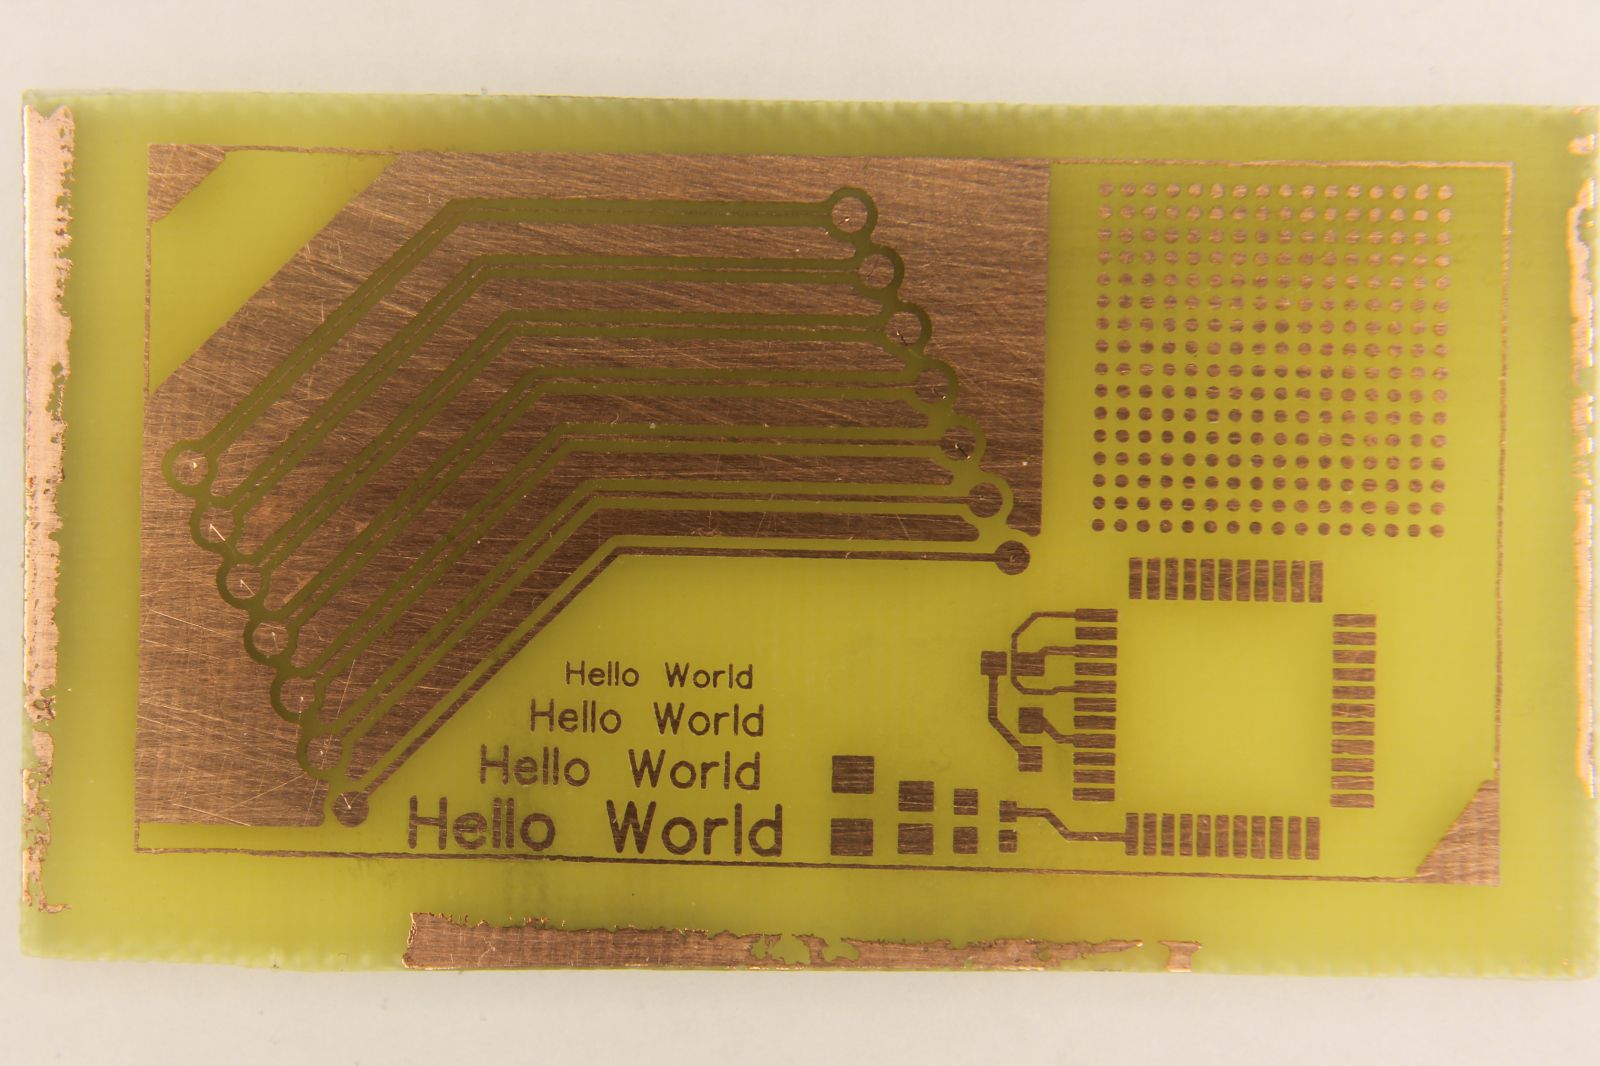
(The first trace on the top-left is 2 mil, and the next one is 4 mil)
With this method I have reliably got down to 4 mil traces - I did get a 2 mil trace, but it was starting to have higher resistance (I wouldn’t trust it at all)…